

Installation
Install Hammer SDK in your Unity project in seven steps.
1. Download the installer
Grab the Hammer SDK installer zip — it bundles the Unity installer that wires up every SDK and adapter your game uses.
Download Installer2. Import SDK installer files into Unity
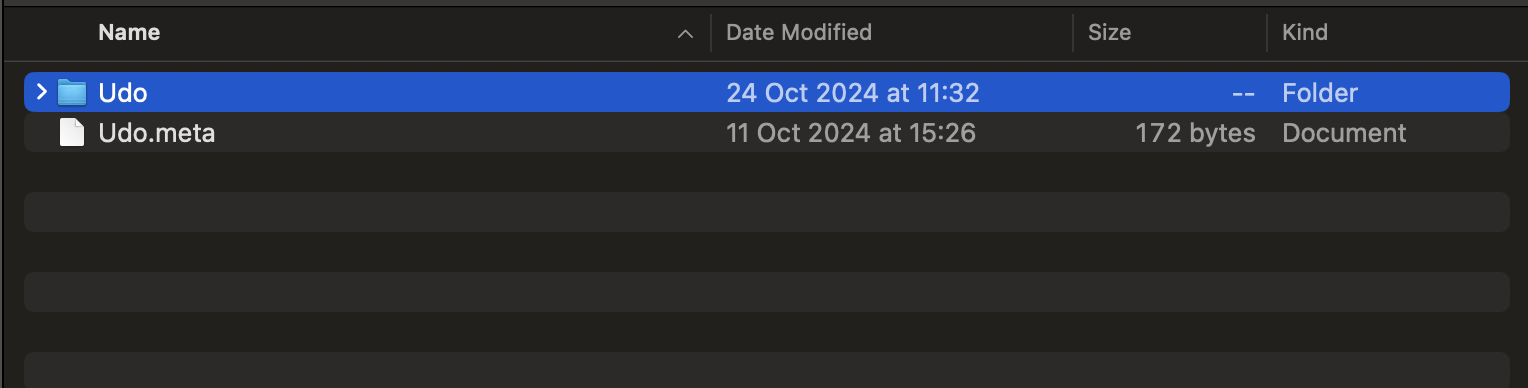
Use a program like 7zip, WinZip, WinRAR, or PeaZip to extract the contents of the zip file you downloaded into your project's Assets folder.
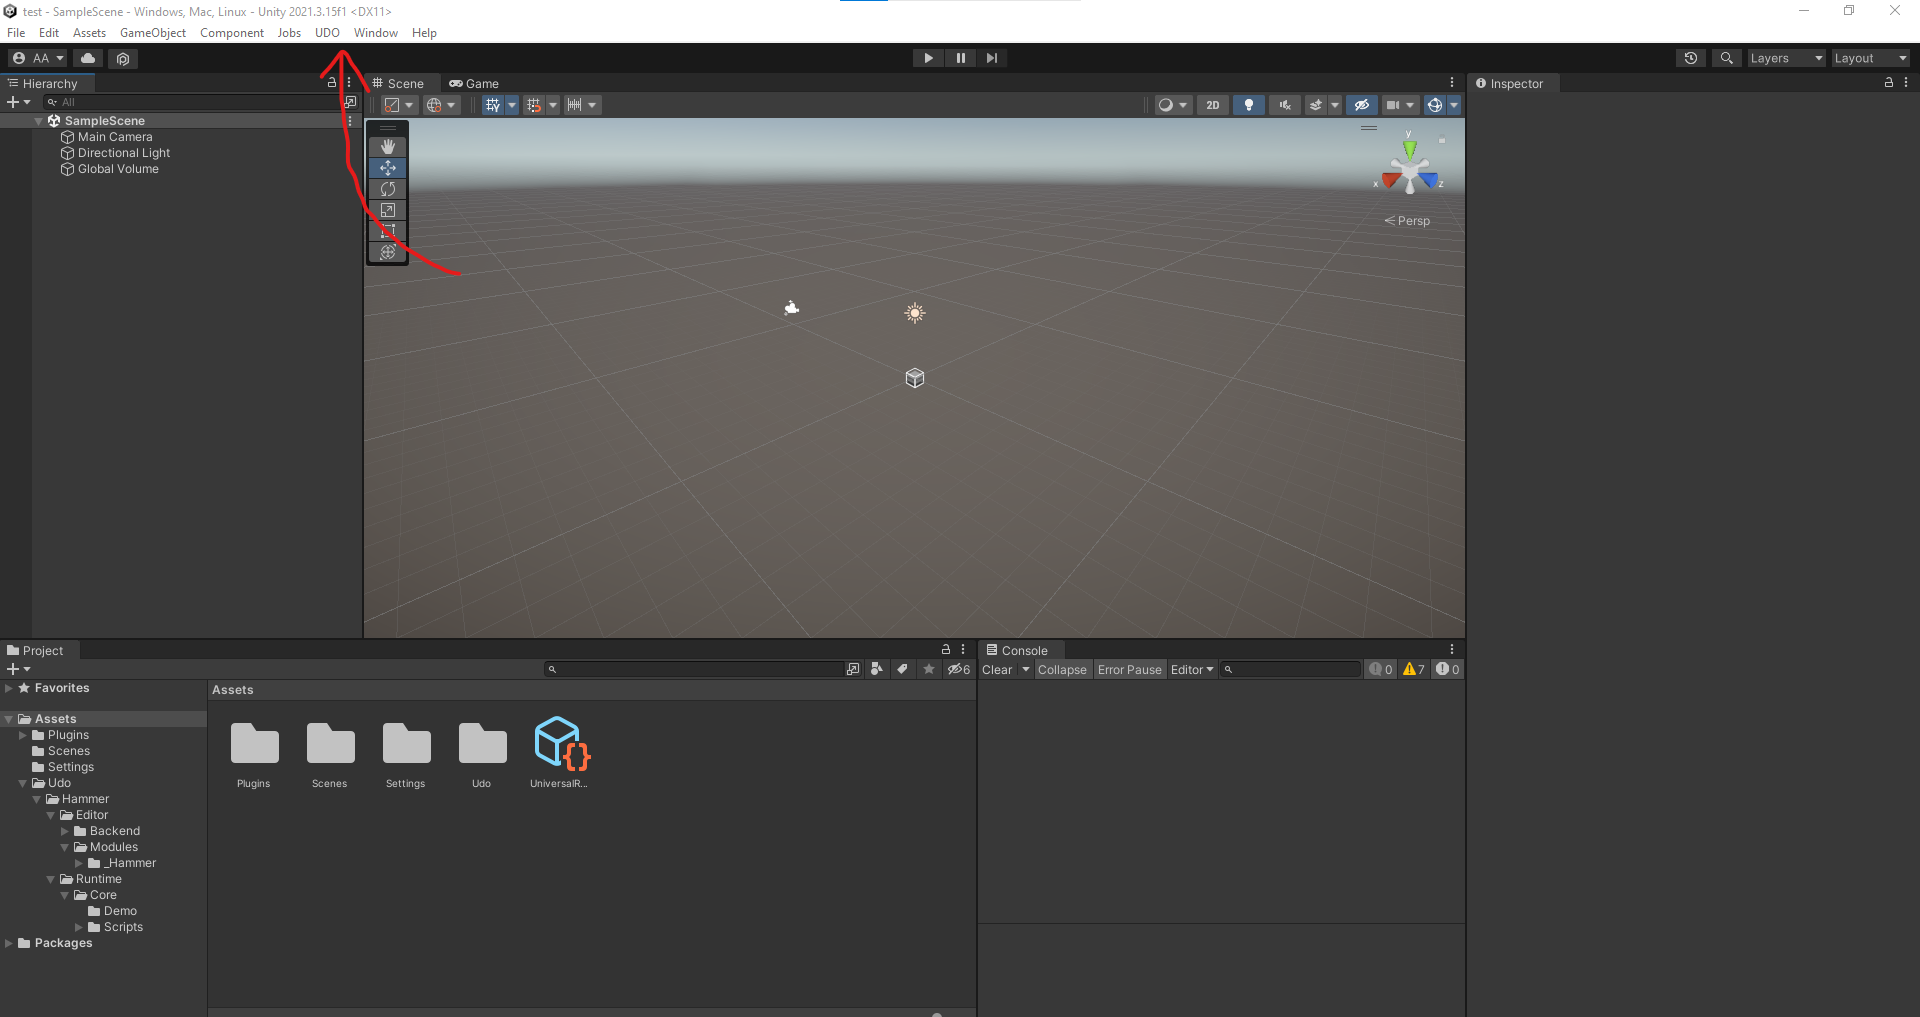
If you see an option named UDO in the toolbar at the top of the editor, the installation was successful.
3. Enter Game ID in UDO menu
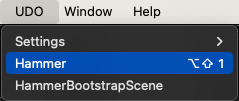
From the toolbar, select UDO → Hammer. You can also use the displayed keyboard shortcut for quick access to the menu.
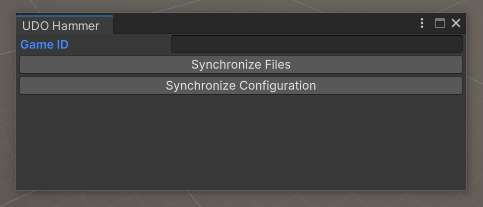
A menu like the one shown below will appear. Enter your game key — provided by the UDO team — in the Game ID field. The key format is XXXXXXXX-XXXX-XXXX-XXXX-XXXXXXXXXXXX.
4. Synchronize files and adapters
After entering your ID, click Synchronize Files. The buttons will be disabled while a log similar to the one below appears in your console.
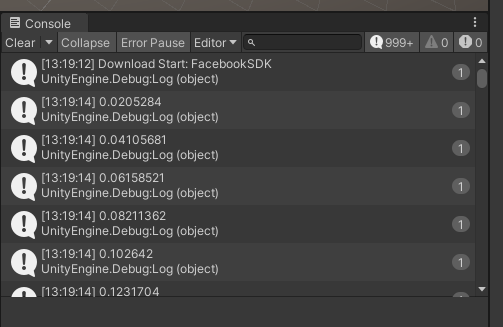
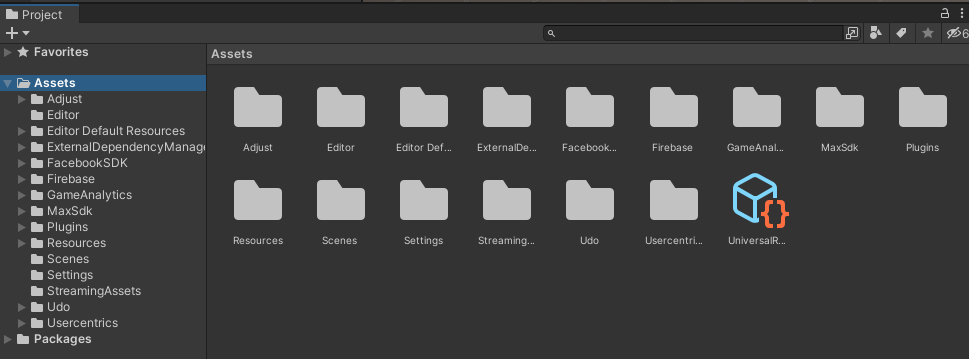
Once complete, the SDK files and per-SDK adapter code download into the Assets folder. Do not move these folders — some SDKs rely on hardcoded relative paths.
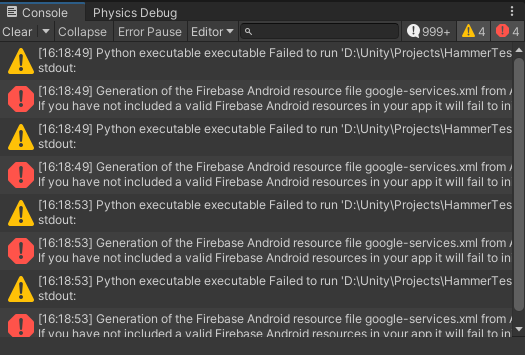
If Firebase is set up in your installation configuration, you may see the errors below in the console. Ignore them — they clear once Firebase is configured in a later stage.
5. Synchronize and verify SDK configuration
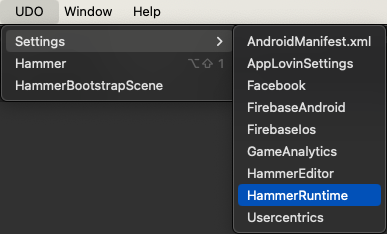
After the SDKs are downloaded, click Synchronize Configuration. When complete, verify SDK configuration via the functions under UDO → Settings → …. View everything in one place with HammerRuntime under UDO → Settings.
6. Set up the HammerBootstrapScene
From the toolbar, select UDO → HammerBootstrapScene.
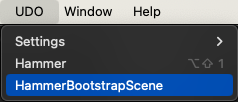
Set the opened scene as the first scene (index = 0) of your project. Clicking UDO → HammerBootstrapScene opens and selects the scene in the project so you can drag it into the build settings.
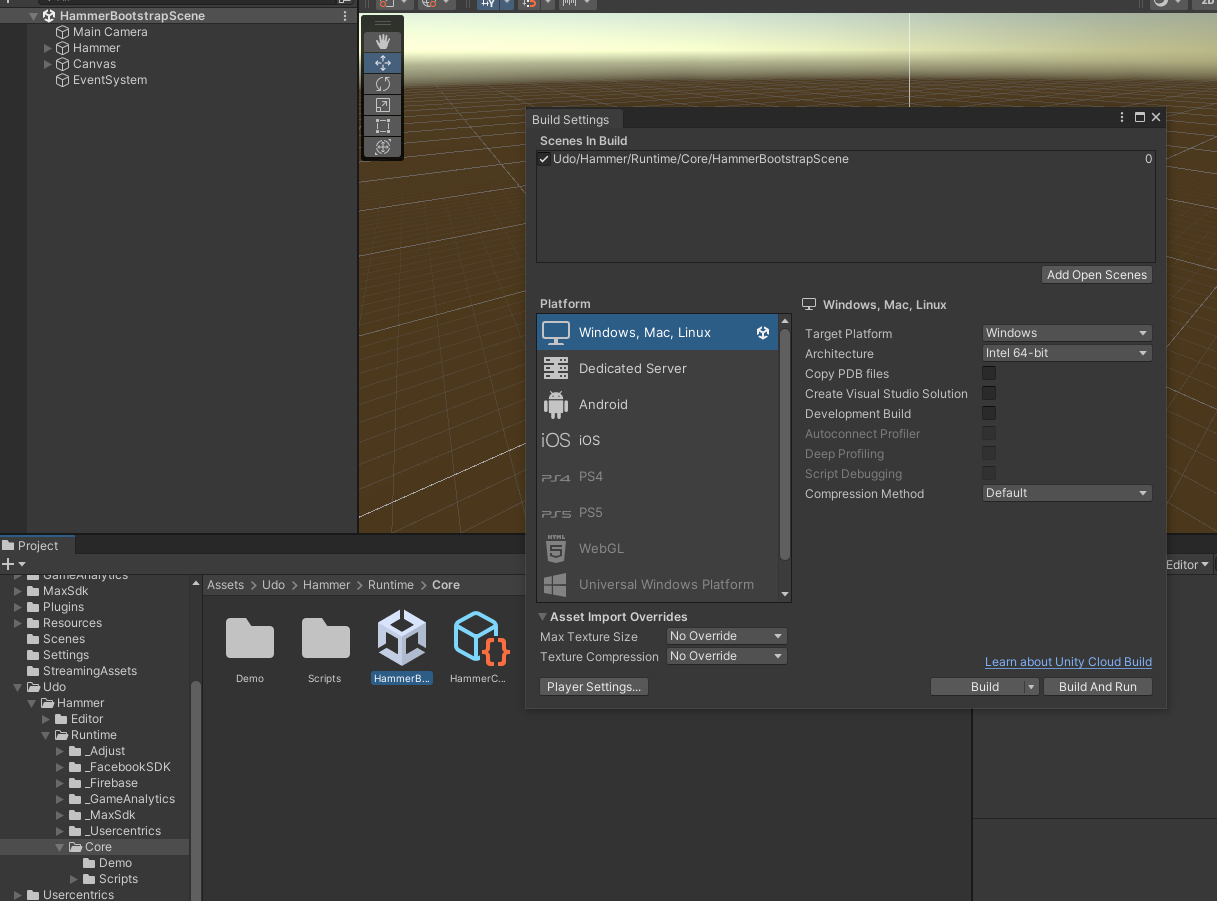
7. Done
Congratulations! Installation is complete.
From time to time, the UDO team may ask you to repeat the Synchronize Files and Synchronize Configuration steps. This is necessary when our SDK code or the underlying SDK IDs change.